


 24/7 Emergency Service
Dryer Duct Preventive Maintenance
8/31/2017 (Permalink)
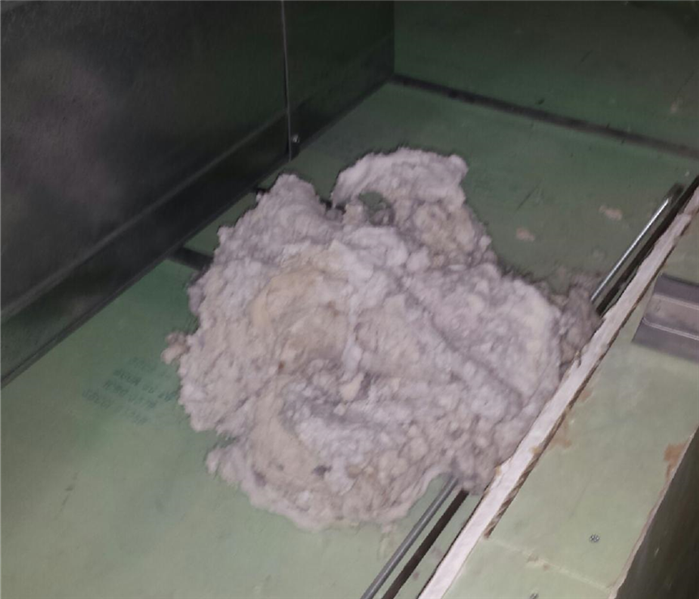 Above is a picture of the amount of lint we pulled from a recent dryer duct cleaning at a hotel in Scranton. Fire hazard!
Dryer vent cleaning is something that is becoming more common as more people become aware of the fire hazards that go along with lint buildup. If you begin to notice that the drying times are increasing you may want to inspect your dryer ducting. Dryer vent cleaning can not only help prevent a fire it can also save you some money and reduce the wear and tear on your dryer. Here is a few simple things that you can check for it you suspect that your dryer vent has lint buildup.
1. Check the dryer vent
Take a look at the dryer vent cap or hood. Make sure there are no visible obstruction and remove anything that may be in the way. The flap open easily when the dryer is on. If it is not it may have to be taken off and cleaned or if the flap is not working properly it may need to be replaced.2. Check the condition of the ducting
If there are any big dips in the dryer ducting disconnect the duct and clean out any lint build up. Make sure that none of the ducting is crushed or damaged. If there are any areas that are bent or badly crushed they should be replaced because lint will collect there more quickly. The more restrictions there are the harder your dryer will work to dry clothes.
3. Check the back of the dryer
Pull the dryer out and disconnect the duct. Look into the dryer and into the pipe. Vacuum out any lint build up in the back of the dryer. If the buildup in the ducting is minimal you can vacuum that out as well. If there is quite a bit of lint built up the entire ducting should be cleaned either with a DIY vent cleaning tool or by a professional.4. Clean the lint trap
Keep the dryer’s built in lint trap clear. Cleaning the lint trap after every load will minimize the amount of lint that gets into the ducting.
5. Look for installation problems
Make sure that the dryer ducting is not held together by screws. Using screws when installing a dryer vent is not recommended because screws will catch a lot of lint. If something is needed to hold the ducting together use foil tape.